Recently in hardware Category

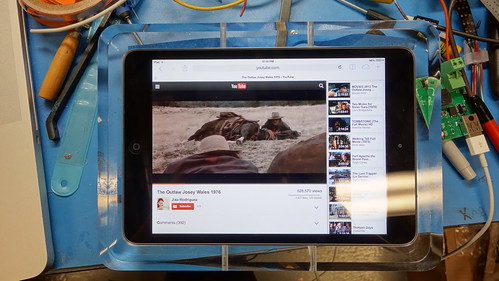
tablet time

| No Comments | No TrackBacks
 
switching it up.

Powering up the new lightning solution!  Requirements:  clear mount [check], no dock connector[check], powered by 12 volt rails [check]!

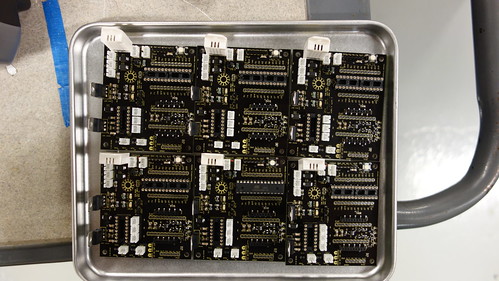
busy bee with boards.

| No Comments | No TrackBacks

reflow toasted and all!

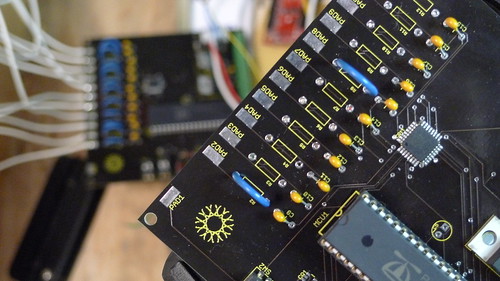
These "rover" boards contain an atmel 328, an xbee socket, a TI SN754410 motor controller, a RHT03 temperature & humidity sensor, and lastly, a simple photoresistor for light sensitivity.  They are based on open source designs and will be open hardware as well.  The original piecemeal prototype was exhibited at the 2013 Robot Block Party @ Stanford.

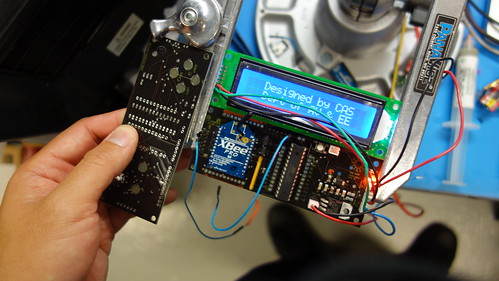
Here's the controller board and display:


The board on the left shows the backside, where the NES styled membrane buttons will trigger input.  Minus the motor controller & sensor, its essentially the same design as the rover board.  You may notice that the mcu chipset is socketed instead of SMT.  This was done just in case the boards get more hands-on use with children.  For that matter, all of the i/o are still available and configurable.

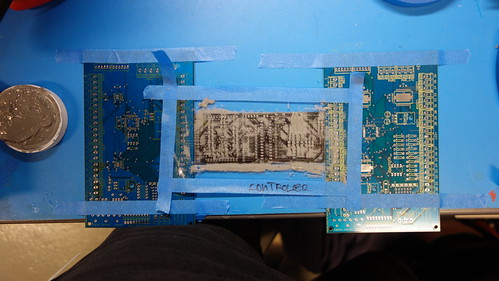
Here's my fancy lack of style/technique in applying solder paste:


The stencils were acquired via http://www.pololu.com/ and worked out really well.  The paste is chipquik NO CLEAN Sn63Pb37 (63/37), which is pretty similiar to the kester variety, but cheap and sold in quantities of 1!  This is important since most jars of solderpaste are sold in quantities of 10 or more!

Lastly, here's an early boot screen, destined to change:


more soon!  This instructables covers the prototype version.
Enhanced by Zemanta


"48 hours of holding hands!"

31 ideas, 80 people, 48 hours to design, build and code a project--only 5 to make the festival.  It culminated in a 5 minute presentation/demonstration within Intersection for the Arts.  Fortunately, project "i just wanna hold your hand" made it into october 20th festival!

It was an eye-opening weekend of talent and new possibilities.  And, a lot of hand holding!  More to come in the future...

Here's the project presentation and description by Ellen Keith, Yael Braha, Mark Roth, Tosh Chiang and Jasdeep Garcha

Conducting energy through people to stimulate tangible public interactions.

By interacting with one another people are able to transform their environment through play. Two metal hands are mounted to the wall. When two or more individuals complete the circuit they provoke audio-visual responses. The level of interactivity is determined by the flow of electricity through the individuals. The interaction can be tailored per installation; the core tool is the Arduino, and in this case we've experimented with Processing projections to activate blank city walls. storefronts, or pavement. This design allows for expansion as well as meaningful data collection. Also, we just like making people hold hands.


Enhanced by Zemanta

7-segmented display install (pt2)

| No Comments | No TrackBacks

almost pi!

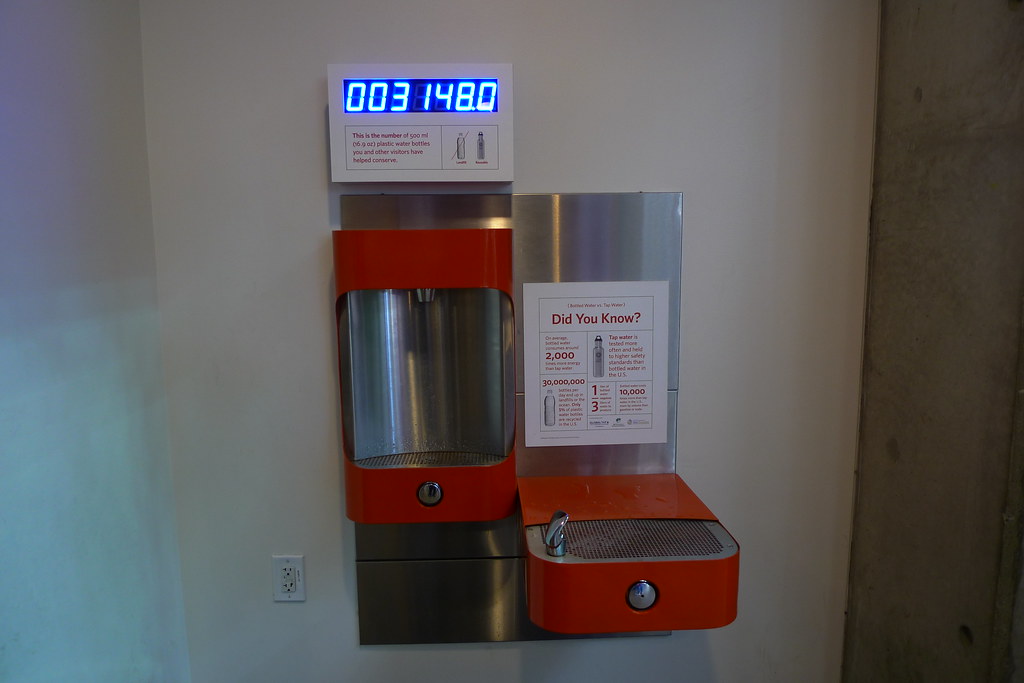
Here's the finished product.  The orange fountain is made by global tap, and designed by Ideo.  The electronics, and signage are in-house.

the board with the displays (yes, there's a rework wire!):


And the original post with video!

tAmp

| No Comments | No TrackBacks


a tiny atiny microcontoller amplifier!

The 8-bit atmel attiny13  has 6 i/o and a crystal-less speed of 20mhz.  We've paired it with a 2x1 audio switch and a 2 watt utility amplifier on a 50x50mm board.  Every i/o of every chip is accesible via the terminals.  You can strip the unit down and make it just an amplifier, or just a signal generator, or just an audio switch!  This capability also gives some nice redundancy and bypass abilities.  One of the two dip-switches operate dependent on the programming of the attiny.  The second one can be used to manually control the audio switching.  The output crossover capacitor is pretty hefty at 1000uf, providing some nice low end in the speakers, but can be easily swapped out.  There's also an isp header for atmels mkII in-system programmer.  Lastly, we have a 5v regulator and a 12v regulator, both of which can be accessed via terminal.  The unit will certainly work with just a 9 volt battery, but the audio output won't quite have punch!

So, what can we do with this!? 

  • make an under water sound target for pyjama sharks (done!)
  • make a handheld function generator
  • throw in a photodiode and make a light dependent audio switch--i.e. "rise and shine!"
  • seamlessly switch two audio sources (i.e two ipods), based on any sensor
  • simple theremin with some adc and a sensor.
  • make a simple vu meter with audio feedback, or pehaps just a burglar alarm
  • generate audio based on i/o input
  • play with led's!
  • make most of the ghostbusters hand held tools
  • you get the idea!

Enhanced by Zemanta

...eventually, these lights program you!

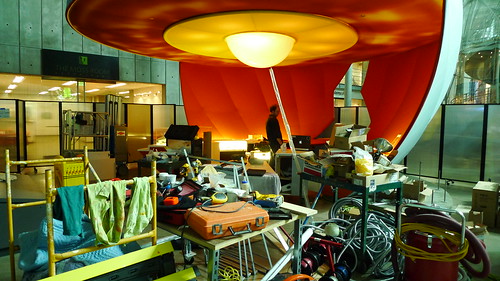
A max/msp project listing has been created here.  It gives a quickie description of how the attraction works.  The LED's pictured above are what illuminate the 1989 and 1906 alamo square skyline.  However, the photo does not give justice to their intensity.  I oft found myself siren-eyed from watching them pulsate!


Enhanced by Zemanta

exhibit tremor control

| No Comments | No TrackBacks
 
"looks different at night?"

So its over.  Everything is installed, everything works, and works pretty well!  It felt like winning tetris.  The team came together and crafted custom code, hardware, audio, lighting effects, parallelograms & trapezoids--so much stuff!  Time to rest now :)


a revision 1 of a capacitive touch board.


the shakehouse exit portal where much of my time was spent.


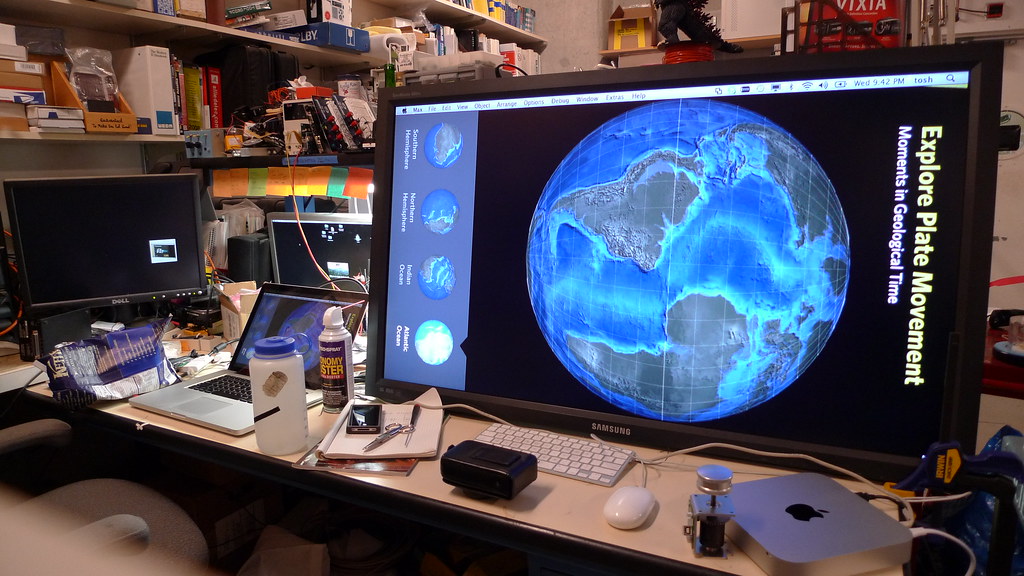
developing on a 42" monitor at my bench...


Well, no, its not a Transformer, but it does have an inductor!

Everynow and then you get an email out of the blue, which just makes you happy:

"Please construct submersible sound target to use for Pajama Shark training"

Well, it was exciting because the application is fun!  The device needed to be water-proof, and operate below a range of 375hz.  (this link explains why!)  

The sealed pvc staff itself contains an Atmel attiny13 and a utility 2 watt audio amp.  Previous incarnations of this device utilized a cd 4093, and then an arduino for the pulse trains.  However, this version is intended for pcb's.  Therefore, we used this opportunity to prototype a utility amplifier/function generator with all the benefits of programmable mcu control!  The output of the device is an induction driver, or "exciter."  Essentially, we're using the PVC pipe as our speaker.  Once ready to go, the capsule was filled with desiccant and bubble packing to keep everything dry and stable.

We'll see how well the sharks salivate!


Here you can see the driver attached to the end of the tube capsule:
 

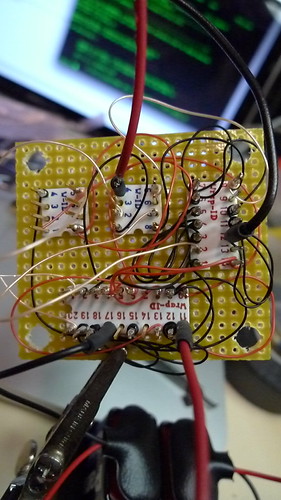
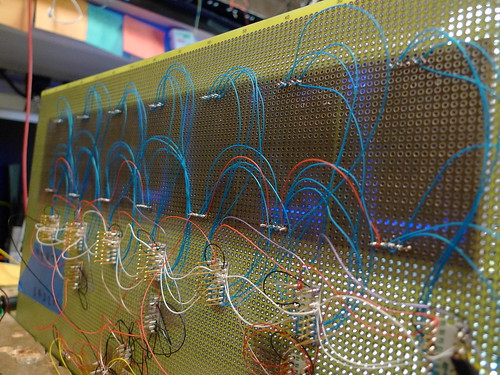
The wire-wrapped side of the proto:


And a shot of the toggle switch (don't mind the excess silicone!)


Update:
There are now two of these devices in use, and both are based on the PCB version of the prototype!  The sharks were recently (late july 2012) released on to live display, and have successfully associated the audio tone with a midnight snack :)  Here's a a bit of coverage from local ktvu.

Enhanced by Zemanta

2.3" 7-Segmented Display Prototype

| No Comments | No TrackBacks

wire crazy?

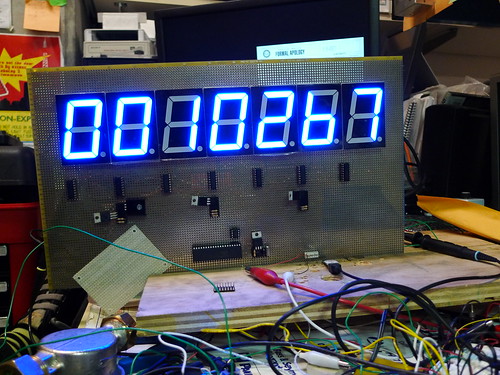
This is a 7 digit, 7-segmented display, utilizing several TL constant sink drivers, and the parallax propeller 32 bit, 8-core MCU.  There's a TL driver for every common anode digit; communication is handled via SPI to the cascaded shift registers.  The prototype is 100% wire wrapped, and surprisingly fast!  

Originally we looked into using the maxim 7219, which was a single IC to drive all the segments.  That particular IC is limited to 5v and something like a 60ma sink, which would never drive the 14.4 v, 100ma segments!  There is a way to do it, but the transistor array and/or auxiliary maxim IC's required felt component heavy.  One fun note on the 7219:  it works on POV!

The Propeller MCU was chosen arbitrarily; another project will require these chipsets, so it seemed like a good idea to brush up on 'em.  They are very reliable and incredibly versatile;  parallax sells a kit to make videogame systems out of them!  The compiler crashed on XP, but worked fine on windows 7.  The language itself, is a bit clunky, but the 8 "cogs", and 80mhz speed make up for it!

Lastly, this device will count waterflow, but only once the PCB is back!

UPDATE:

Installed and operating, this device is live!  It only needs a darker tint on the glass.
Here's some ktsf video with it.


Enhanced by Zemanta

Umbilical'd Amplifier

| No Comments | No TrackBacks

dAmpAq.png

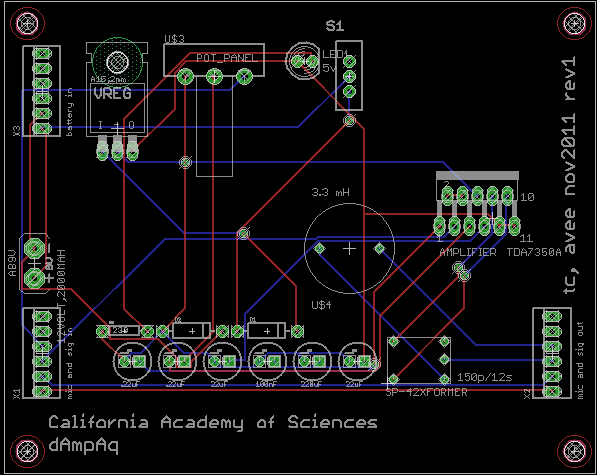
Itsa damp design...

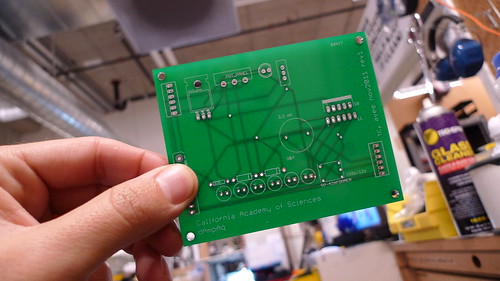
This circuit is based on the TDA7350A by ST, which is a robust car radio amplifier.  It supports 22 watts of bridged output, which is then sent through a 50'+ underwater umbilical, into a dive mask.  The line matching transformer is actually milspec; it was the only one which fit the bill!  The current version is hand wire-wrapped and placed within a NEMA box.  But though sealed and packed with desiccant, everything electronic is mortal in a saltwater environment.  With PCB's in stock, we'll be able to quickly produce new units.  This first revision is a bit spacious, the next one will likely have two units in the same panel space.  The panel pins will also be better utilized i.e. for the pot header.

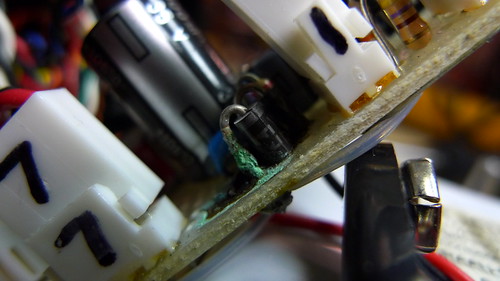
This is what happened to the original board:


Enhanced by Zemanta

About this Archive

This page is an archive of recent entries in the hardware category.

gadgetry is the previous category.

interactive is the next category.

Find recent content on the main index or look in the archives to find all content.